How to Create the Perfect Wedding Day Timeline
Okay - so you’ve locked in a wedding date, secured your venue, and started booking your dream team of suppliers. But before you send out those invites, you’ll need to figure out a timeline for the day!
Your wedding timeline will have a big impact on how your day flows from start to finish, so it’s something you’ll want to think about carefully. From choosing the right ceremony start time, to getting those dreamy golden hour portraits, read our photographer’s guide to creating the perfect wedding day timeline below.
1. Work backwards from sunset
When it comes to building your wedding day timeline, one of our best pieces of advice is to work backwards from sunset. This means you can allocate enough daylight hours to fit in everything that needs to happen prior to your reception (e.g. your ceremony, family photos, wedding party and couple portraits). The last thing you want is to be feeling super rushed trying to squeeze everything in before it gets dark!
From a photography perspective, working backwards from sunset also means we can schedule your wedding portraits during “golden hour” - that beautiful hour before sunset where everything is drenched in soft, warm, golden light.
Sunset times vary throughout the year, so do some research to find an approximate time window for your wedding date, then work backwards to schedule your ceremony accordingly. For winter weddings, a ceremony start time of 2.00pm/2.30pm can work well to ensure you have enough light for photos after the ceremony. But in summer, having a late afternoon ceremony tends to work best so we can shoot your couple photos a little closer to golden hour (plus, your guests won’t get too hot and sweaty).
Our tip: We’d recommend avoiding midday or early afternoon ceremonies if possible during summer, as the lighting can be quite harsh and unflattering - unlike that dreamy golden hour glow!
2. Consider your hair and makeup times
One of our most common questions from couples is when they should schedule their hair and makeup to finish.
Each day will be slightly different and we will recommend more exact timings when we prepare your photography timeline in the lead up to your day, however we’ll generally allocate 2-3 hours for your photographer to capture bridal preparations. We recommend organising your hair and makeup to be complete at least one hour before your photographer needs to depart for the ceremony.
An example timeline for this would be:
12pm - Photographer arrives to capture preparations
1pm - Hair and makeup finishes
2.15pm - Photographer departs for ceremony (allow 15 mins travel time)
3pm - Ceremony commencement
3. Allocate time for family and group photos
After your ceremony, we recommend allocating some time for your family and group photos, before we head off for your wedding party photos and portraits.
In the early stages of planning, you don’t need to think about this in too much detail. But when it’s a little closer to your wedding date, we’ll touch base with you and ask for a detailed family photo list. This list should include all of the different combinations of family photos you’d like us to capture.
Once we have your list, we’ll be able to determine exactly how much time we need to put aside. We recommend sticking to around 10 different combinations so you aren’t spending all afternoon getting family photos. Trust us - it’ll make this part of the day way more enjoyable for you! We can always snap some photos of you with any friends or extended family during the reception.
We also like to give you some time to say hello to everyone and greet your friends and family with hugs and kisses before we whisk you away for some location photos. So, be sure to allow at least 15 minutes for this straight after the ceremony.
4. Stay close for your location photos
Now it’s time for your location photos, yay! A common question we get asked regularly is how much time we allow for wedding party and couple photos. We typically recommend around an hour, but this can vary depending on whether we need to travel off-site, if you’d like multiple locations, and the size of your wedding party.
To keep things simple and maximise your time celebrating with loved ones, we suggest choosing a location close to your venue and keeping it to one spot. The less time spent travelling, the more time you’ll have to enjoy your big day!
With that in mind, here’s an example wedding timeline:
3 - 3.30pm: Ceremony
3.30 - 3.45pm: Greet and mingle with guests
3.45 - 4.15pm: Family photos
4.15 - 4.30pm: Travel to location for photos
4.30 - 5.30pm: Portraits on location
5.30pm: Sunset
5. Don’t forget the reception details
When it comes to your wedding reception, your venue or caterer will be the best people to guide you on the timing of formalities like entrees, mains, and speeches. That said, we have a few photography tips to keep in mind!
If you’re planning a summer wedding, there’s a good chance sunset will fall partway through your reception - which is the perfect time for golden-hour portraits. If so, we recommend setting aside a quick 15-minute window to step outside for some stunning sunset photos. This could be while guests are being seated, between courses, or even between speeches. Not only will you get dreamy, romantic images, but you’ll also have a quiet moment together to soak in your incredible day.
Another great tip is to make the most of your photographer’s time. Instead of keeping them until the very end for a late-night cake cutting or sparkler exit (which can add extra cost), consider alternatives like a sparkler entry to your reception, a sparkler first dance, or even a ‘mock’ sparkler exit earlier in the evening.
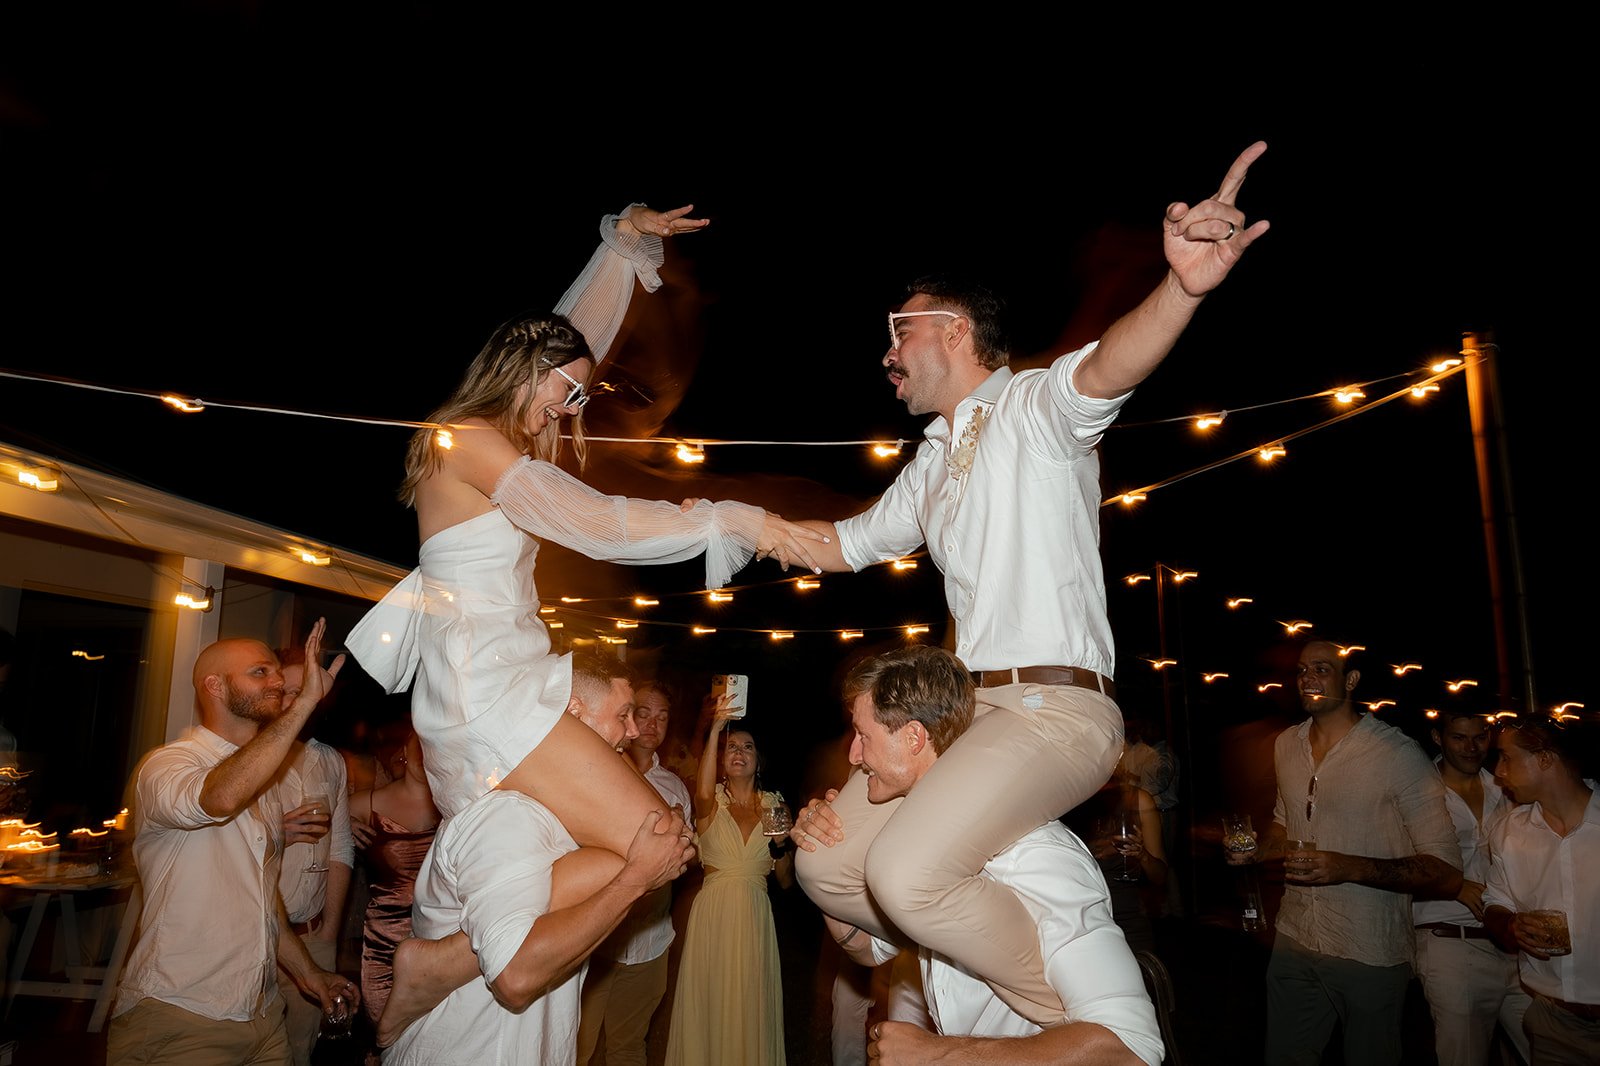
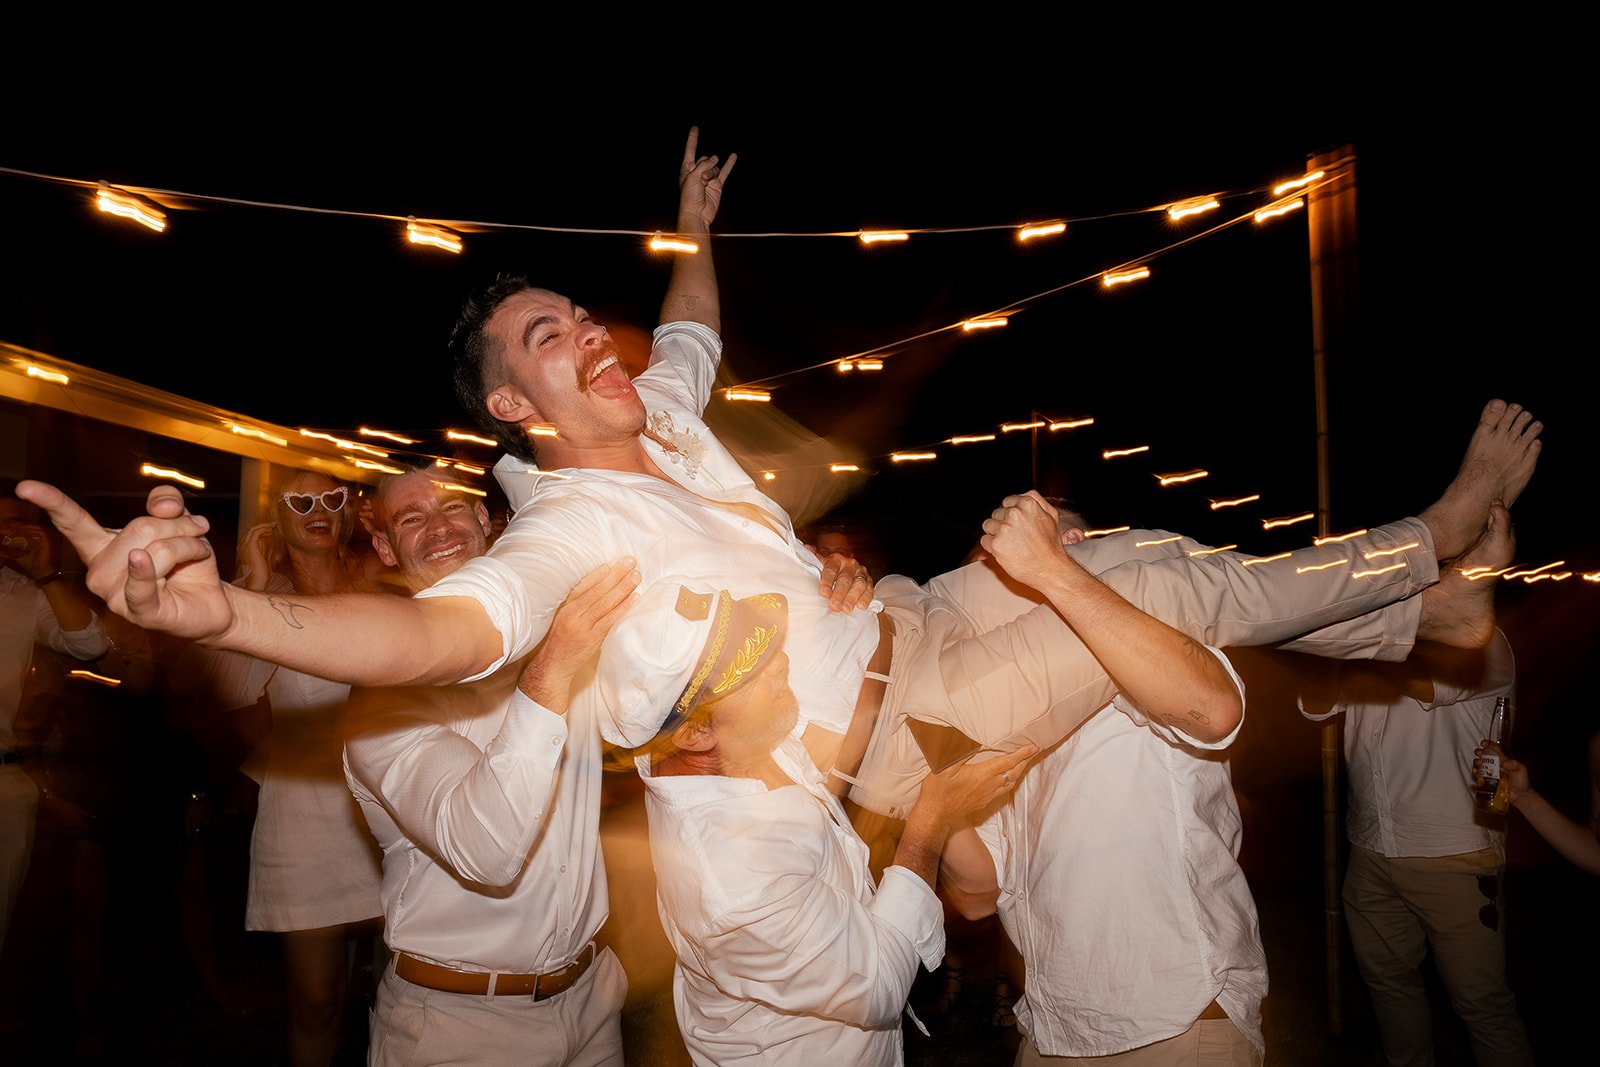
Last, but definitely not least, make sure you allow enough time to enjoy the party after the formalities are over so you can let loose on the dance floor. We love capturing those epic party photos!
Creating your wedding timeline is one of the most important tools to ensure your day runs smoothly. Here at Figtree, we understand each wedding day is unique, and we work closely with you in the lead up to your day to create the perfect photography timeline for the day.
You can learn more about our wedding photography packages here, or check out our recent galleries to see our work in action. Based on the Gold Coast, we capture weddings right across the Tweed Coast, Brisbane, Byron Bay and beyond!
Did you find this advice helpful? Check out more wedding photography tips and advice on The Figtree Guide.


